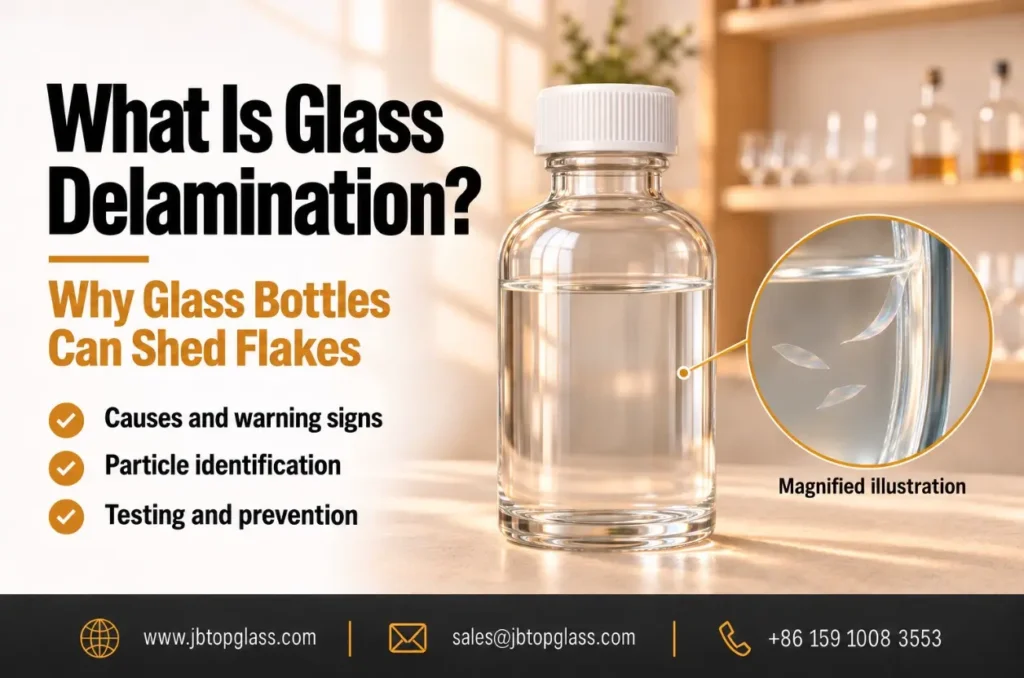
Glass delamination means thin layers peel off the inside of a glass bottle and get into the liquid. You may see small, shiny flakes. The bottle may have no crack and no chip. The cause involves three things: the glass surface, the liquid inside, and the conditions during processing and storage. This guide explains how flakes form, how to find the cause, and how to lower the risk before production.
What Is Glass Delamination?
Simple version: a thin skin forms on the inside of the bottle, and later it peels off.
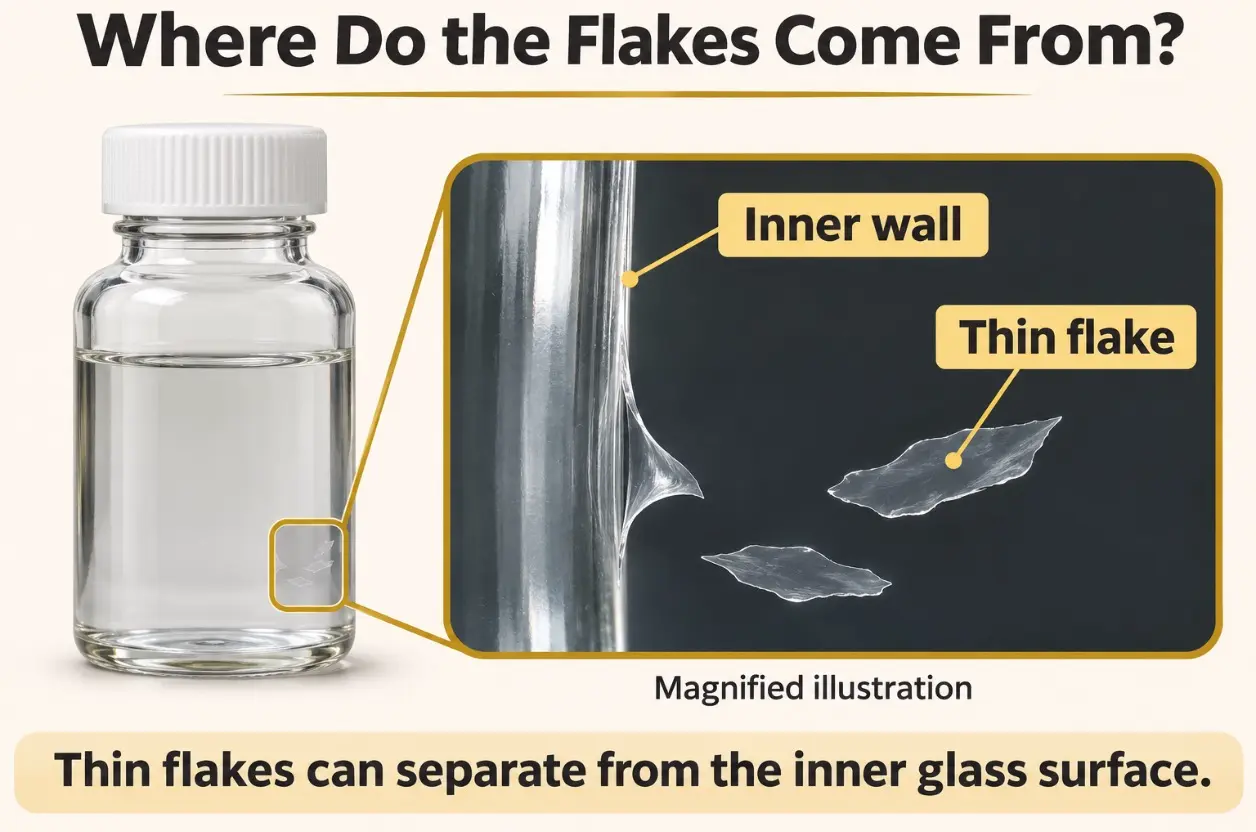
Glass delamination is the separation of a thin, chemically changed layer from the inside wall of a container. The pieces that come off are called glass lamellae (thin glass flakes).
Glass bottles do not have a coating that is supposed to peel off. Instead, the liquid can change the glass surface itself. This change can make a weak layer. Later, that layer can separate from the glass below.
For example, a water-based liquid can pull sodium and other parts out of the glass surface. What is left behind may have more silica (the main material in glass). If this changed layer comes off, thin flakes get into the liquid.
This is why a bottle can shed flakes without breaking. The problem starts on the inside surface. The rest of the wall can still be fine. So a check for visible cracks is not enough.
What this means for you: if you see flakes, do not assume the bottle is cracked. The inside surface needs to be checked.
What Does Glass Delamination Look Like?
Simple version: they look like thin, shiny flakes, but not every shiny particle is glass.
Glass flakes are often thin and see-through. They may shine in the light. Under a microscope, they can look like flat sheets or have curled edges. Some are too small to see with your eyes.
But shiny particles are not always glass delamination. Broken glass, ingredients coming out of the liquid, and dirt from filling can also show up in a bottle.
| What you find | Possible explanation | What to check |
|---|---|---|
| Thin, flat flakes | A layer peeled off the glass surface | What the particle is made of, and the inside wall |
| Thicker, sharp pieces | Chipping or breakage | The bottle mouth, the machines, and other glass sources |
| Crystals, cloudiness, or buildup | Ingredients coming out of the liquid | The formula and what the particle is made of |
| Fibers or odd pieces | Dirt from processing or handling | What the material is, and where it came from |

These are only starting clues. A photo cannot prove that a particle came from the bottle wall.
A published pharmaceutical case study shows how hard this can be. Researchers found very thin flakes. The flakes contained silica and an ingredient from the formula. Later checks showed the vial surface was not peeling. The flakes had formed in a different way, from the vial preparation and the product.
This matters because each cause needs a different fix. Changing the glass will not fix a problem caused by the formula or by dirt elsewhere in production.
What this means for you: do not judge by looks alone. Ask the lab what the particle is made of and check the inside wall.
What Causes Glass Delamination?
Simple version: it is a reaction between the glass surface and the liquid, and several things can make it worse.
Glass delamination comes from an interaction between the finished glass surface and the liquid inside. Glass composition, how the bottle is made, the formula, temperature, and time all play a part. If you look at only one factor, you can miss the real cause.
Glass Composition and Manufacturing
Simple version: the glass recipe matters, and so does how the bottle is shaped.
The glass recipe affects how well it resists chemical attack. How the container is formed can also change the surface that touches your product.
Tubular pharmaceutical vials are a good example. They start as glass tubes. The tubes are heated to form the neck and bottom. During this hot forming, boron and sodium compounds can move from hot areas to cooler parts of the inside surface. These areas can act differently from the original tube glass.
The heel (the curved area where the side wall meets the bottom) can be very important in these vials. Testing only the starting glass may miss changes made when the container was formed.
Soda-lime glass can also form a changed inner layer. The liquid can pull alkali parts, such as sodium compounds, out of the surface. Under the right conditions, the silica-rich layer left behind can come off. So you cannot rule out delamination just because a bottle uses a different glass type.
What this means for you: ask the supplier about the glass recipe and how the bottle is formed. Do not assume a glass type label is enough.
Formulation Chemistry
Simple version: what is in your liquid matters, not just the pH.
Your formula decides what the glass touches during storage. pH, buffers (ingredients that control pH), salts, and other ingredients all matter.
Alkaline liquids can attack the glass structure. Some buffers can also affect glass corrosion. Studies have found differences between citrate, phosphate, and other formulas. Two liquids with the same pH can behave differently in the same bottle.
Suppose you keep the bottle but change the buffer in an existing liquid product. The bottle size stays the same, but the liquid touching the glass has changed. Old compatibility results may no longer apply to the new product.
No single pH value protects every formula and every container from glass delamination. Use the full formula when you decide what to test.
What this means for you: give the lab the full formula, not just the pH. If you change the formula, test again.
Processing Temperature and Contact Time
Simple version: heat speeds up the reaction, and long storage gives it more time.
Heat can speed up reactions between the liquid and the glass. The FDA’s findings on glass delamination list processing and storage temperatures, contact time, and formula chemistry as important factors.
Keep the two heat sources separate. Heat used to form the container can change its surface before filling. Heat used during product processing can affect how the filled product reacts with that surface.
Storage adds long contact. A bottle that looks clear right after filling may show surface changes or particles later. So a check right after production cannot replace a study that covers the full storage period.
What this means for you: tell the lab your real processing temperatures and your target shelf life. A quick check right after filling is not enough.
Which Glass Containers Can Be Affected?
Simple version: many glass containers can be affected, including strong Type I glass.
Many glass containers can be affected. Much of the research is about pharmaceutical vials, especially containers for injectable products. Those studies explain important mechanisms, but they do not prove that every medicine bottle will act the same way.
Type I borosilicate glass has high chemical resistance, yet delamination has happened in Type I vials. Soda-lime containers can also suffer chemical attack and surface flaking. Naming a glass type alone does not show whether the finished container suits your liquid.
Pharmaceutical classifications under USP ⟨660⟩ describe performance based on hydrolytic resistance (how well the glass resists attack by water). They help you identify the material’s performance category. They do not prove that a finished container will stay compatible with every formula through its shelf life.
Le types of glass used for medicine bottles also serve different uses. An oral-liquid bottle and an injectable vial need separate tests suited to their products and processes. Results from one should not be used to approve the other.
What this means for you: do not accept “we use Type I glass” as proof. Ask for a test with your real product in the real container.
How Can You Reduce the Risk Before Production?
Simple version: test the real bottle with the real liquid and the real process before you approve it for filling.
Start before the bottle is approved for routine filling. A useful risk assessment uses the real formula, the finished container, and the conditions the filled product will face.
Compare Candidate Containers under Consistent Conditions
Simple version: when you compare bottles, keep everything else the same.
Use the same formula, fill volume, processing cycle, and storage conditions when comparing bottles. If you do not, a difference in results may come from the test conditions, not the bottles.
For example, comparing one bottle after heating with another stored only at room temperature tells you little about their relative performance. Both need to go through conditions that match your product.
Short-term screening and product stability studies have different goals. Screening uses selected conditions to show differences between candidate containers or production lots. Longer-term studies look at the packaging with the product over time.
A good screening result helps you decide which bottles to study further. It does not set a shelf life by itself. A failure under a very harsh screening condition also needs interpretation before you conclude that the bottle will fail in normal use.
The lab should explain how the screening method relates to your formula and what follow-up work is needed. That keeps a quick comparison from turning into an unsupported packaging approval.
What this means for you: ask the lab to use your real fill volume and process. Ask what the screening result does and does not prove.
Confirm Who Provides Each Part of the Information
Simple version: the supplier knows the bottle, you know the product, and the lab designs the test.
Give the supplier the information that affects contact with the glass: the formula, intended fill, processing temperatures, storage conditions, and target shelf life. A description such as “liquid medicine” leaves out most of what is needed for a compatibility study.
Ask the supplier to confirm the proposed glass specification (the detailed glass requirements) and any inside-surface treatment. Samples and reports should identify the finished container and production lot they represent. A report for a different bottle or glass source may not answer the question for the samples you are considering.
Your technical team and the lab can then agree on study conditions and how results will be judged. The supplier explains the container. Your team explains the product and process. The lab designs the right analysis.
What this means for you: give the supplier your full formula, fill volume, temperatures, storage conditions, and shelf life. Ask for reports that match the exact bottles you are considering.
Review Changes during Repeat Supply
Simple version: a new bottle can look the same and still act differently.
After a container has been qualified (approved for use), check changes that could affect its inside surface or its contact with the product. These may include a different glass source, forming process, surface treatment, formula, or sterilization cycle.
A replacement bottle can match the original dimensions and still have different chemical performance. Before treating the two as interchangeable, compare the material and manufacturing information and decide whether more testing is needed.
Keep results tied to the bottle lot and product version tested. If flakes appear later, those records let you compare the affected production with earlier batches instead of starting the investigation from memory.
What this means for you: when the bottle changes, ask whether the old test results still apply. Keep records tied to the exact lot and product version.
Foire aux questions
Is Glass Delamination the Same as Glass Leaching?
Simple version: no. Leaching means glass dissolves into the liquid. Delamination means a thin layer comes off as solid flakes.
Glass leaching means glass constituents dissolve into the liquid. Glass delamination means a thin surface layer separates as solid flakes. The two can be related: leaching may change the inside surface before a layer comes off. But finding dissolved glass elements does not prove that delamination has happened. The particles and the container surface also need to be checked.
What this means for you: a chemical test of the liquid alone cannot confirm delamination. You also need to look at the particles and the inside wall.
Can Glass Delamination Appear After a Bottle Passes Incoming Inspection?
Simple version: yes. Incoming inspection happens before the bottle sits with your liquid for months.
Incoming inspection checks the bottle before it has spent months in contact with your formula. The container may have no visible particles at that stage. Changes can develop later during processing or storage. Passing incoming checks still matters, but it does not replace compatibility and stability testing of the filled product under its intended conditions of use.
What this means for you: incoming inspection is not enough. You still need a filled-product stability study.
Why Does Fill Volume Matter in a Glass Compatibility Study?
Simple version: the fill level decides how much glass touches the liquid and which parts get wet.
Fill volume changes the amount of glass touching the liquid, the volume available to dilute released elements, and which parts of the wall get wet. Research on tubular vials found that full-volume testing could hide differences near the heel. Use the intended product fill when planning the study. A nearly full container may give different results.
What this means for you: tell the lab your real fill volume. Do not let them test with a different fill level.
How Long Does Glass Delamination Take to Develop?
Simple version: there is no fixed time. It depends on the glass, the formula, the process, and the storage temperature.
There is no fixed time. The glass surface, formula, processing history, and storage temperature all affect how fast changes develop. Surface damage can begin before loose flakes become visible. A short study with no visible particles therefore cannot prove performance over a much longer shelf life. Choose study periods and sampling points that let your team follow changes over time.
What this means for you: a short test with no flakes does not prove the bottle is safe for a long shelf life.
What Samples Are Needed to Investigate Suspected Glass Delamination?
Simple version: send affected bottles, kept samples, and unused bottles from the same lot. Do not clean them first.
Ask the lab before preparing or sending samples. It may ask for affected filled containers, unaffected kept units, and unused bottles from the same lot. Include lot numbers, the formula, processing history, and storage details. Keep samples in their original condition unless the lab tells you otherwise. Washing bottles or removing particles beforehand can destroy information needed to find where the material came from.
What this means for you: do not wash or clean the bottles before sending them. Ask the lab first.
Conclusion
Simple version: check the flakes, the inside wall, and the liquid together. Test the real bottle with your real product and process before production.
Glass delamination is best understood by examining the flakes, the inside wall, and the liquid together. Before production, check the finished container with your actual formula and process. Jingbo Group offers glass medicine bottles for oral liquids, syrups, and liquid supplements, with customization options. Contactez nous with your product, target capacity, and filling conditions to discuss the bottle you need.